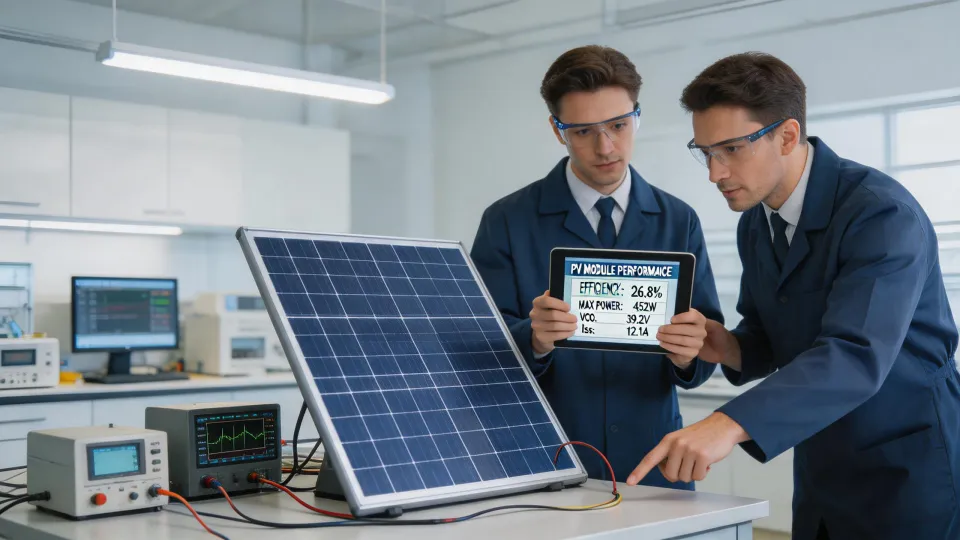
So you're planning to spec Maxeon panels for a project. Maybe the client saw the efficiency numbers. Maybe you're convinced the 40-year warranty is the clincher. Whatever the reason, you're about to write an order that goes into a system with a ton of moving parts.
I've been handling procurement and project specification for solar installers for about six years now. In that time, I've made—and, more importantly, documented—a solid dozen or so significant mistakes on orders involving premium modules. A few of those were on Maxeon projects. Total wasted budget across all my screw-ups? Roughly $12k, give or take. The most painful one cost a client a week of delay on a commercial rooftop because I got the voltage specs wrong for their inverter combiner box.
The 12-point checklist I'm sharing here is the result of those mistakes. It's the set of cross-checks I run before any Maxeon order goes in. If you're a project developer, an EPC project manager, or a senior installer, this is for you.
Let's get into it.
Step 1: Verify the Temperature Coefficient Compatibility
This is the one that bit me early on. Maxeon panels, thanks to the IBC (Interdigitated Back Contact) technology, have a class-leading temperature coefficient—typically around -0.29% / °C for the Maxeon 6 series. That's excellent. It means the panels perform better in high heat than standard PERC or TOPCon modules.
But here's the catch: that excellent coefficient means the maximum power voltage (Vmp) curve is different. Your inverter strings need to be designed with this in mind. I learned this the hard way. On a project in Arizona, I spec'd the string lengths based on the Vmp of a standard module. The Maxeon panels, with their higher voltage from the better coefficient, pushed the string voltage over the inverter's maximum input operating range on the first hot day.
Your checklist here: Don't just copy-paste your string sizing from a standard module project. Use the Maxeon datasheet's coefficient for your specific region's high-temperature design point. If you're in a hot climate (like the US Southwest or parts of Australia), you might need to shorten your string by one or two modules compared to a standard PERC panel.
Step 2: Know Which Maxeon Series You're Actually Ordering
This sounds obvious, but it trips people up. Maxeon has a few product lines: the Maxeon 6, the Maxeon 7, and sometimes you'll see older stock of the Maxeon 3 or 5. They look similar, but the voltages and current specs are different.
I once ordered Maxeon 6 panels for a project—or so I thought. The PO said "Maxeon 6." The sales rep confirmed. The panels arrived, and on the pallet, the box label said "Maxeon 5." It was an old stock shipment the distributor was clearing. The panels were physically identical in size, but the electrical specs were different. The Voc (Open Circuit Voltage) on the Maxeon 5 was slightly higher, and the Isc (Short Circuit Current) was a bit lower.
Did I catch it? No. The warehouse guy checked the size and said, "Looks fine." We installed 36 of them on a residential roof. When we went to commission the system, the inverter threw an over-voltage fault. We had to remove 4 panels from the string—breaking the roof layout we'd designed—to get it to work.
Your checklist here: Don't rely on the product name. Look at the model number on the datasheet. Make sure the model number on your purchase order matches the exact model number on the panel's backsheet label. Trust, but verify—especially if the distributor is offering a "great deal" on what they say is current stock.
Step 3: Check the Racking Compatibility for the IBC Design
Most solar installers think a panel is a panel is a panel when it comes to racking. Not with IBC. Maxeon panels, particularly the older Maxeon 3 and some versions of the 5, have a slightly different frame design. The frame's grounding points are different. The clamping zones might be a millimeter or two off from a standard aluminum-frame module.
This isn't a huge problem—until it is. We had a project where the racking system's mid-clamps didn't sit flush on the Maxeon frame. It was a 0.5mm difference, but it meant the clamp wasn't making full contact. The installation crew had to use a different style of clamp, which delayed the project by a day while we sourced them.
Your checklist here: Before you order, get a spec sheet for the Maxeon panel's exact frame dimensions (height, width, thickness of the frame rail). Compare them to the clamping specs of your racking supplier. If there's any variance, get a test clamp and test it on a panel before the whole shipment arrives.
Step 4: Clarify the Warranty Claims Process with Your Distributor
A 40-year warranty is a powerful sales tool. But a warranty is only as good as the process for making a claim.
I've heard horror stories from other installers about the warranty claims process for premium panels. The process often requires the installer to document the failure in a very specific way, with photos from specific angles, and to provide string-level monitoring data. If you don't have that data saved, your claim gets rejected.
On a different project with a different premium panel (not Maxeon), a client claimed a microcrack. The distributor's warranty team required a high-resolution photo of the cell from a specific angle that showed the crack under a specific light. The installer didn't have that photo. Claim denied. The client had to eat the cost of the replacement panel.
Your checklist here: Before you sign the purchase order, ask your Maxeon distributor or representative: "What is the exact step-by-step process for submitting a warranty claim? What documentation do you require from the installer?" Get that in writing. Then, add a line item in your monitoring system setup to save daily string-level data for the first year.
Step 5: The Step Everyone Ignores—Confirm the Bi-Directional Meter / Monitoring Compatibility
This might sound like an observer thing, but trust me—it's a pitfall. Maxeon panels are often paired with high-end monitoring systems because of their premium nature. But that monitoring system has specific requirements.
On a project in 2024, we installed a set of Maxeon panels with a popular third-party monitoring system. The monitoring system couldn't communicate with the Maxeon's integrated smart junction box. The junction box had a different protocol than the monitoring system expected. We spent a full day troubleshooting before realizing the panel and the monitor were speaking different languages.
The fix? We had to order a different gateway unit, which cost an extra $400 and delayed the commissioning by three days.
Your checklist here: If the project requires granular per-module monitoring (many do for commercial applications), confirm that the monitoring platform you're using supports the Maxeon panel's communication protocol. Ask your distributor for a compatibility list. Don't assume it works—or rather, don't assume the same gateway from last year's project works with this year's panel revision.
Step 6: Factor in the Shipping and Logistics
This isn't rocket science, but it's a pain point. Maxeon panels are typically built in a specialized factory (I believe their primary facility is in the Philippines). This means lead times can be longer than for panels from Chinese manufacturers. As of January 2025, lead times I've seen for a standard order of Maxeon 7 panels are around 8-10 weeks from order to warehouse.
If your project is on a tight schedule—say, a rebate deadline or a PPA start date—an 8-week lead time can kill you.
Your checklist here: When you're planning the project timeline, don't just add 2 weeks for lead time. Ask for the current lead time quote on the exact model you need. Add a buffer of 2 weeks. And do not—I repeat, do not—schedule the installation crew until you have a confirmed shipping date from the warehouse.
Final Thoughts and a Few More Words
Look, Maxeon makes excellent panels. The efficiency and degradation specs are genuinely best-in-class. But premium technology comes with premium complexity. The checklist above has saved me from at least three major mistakes in the last 18 months. One was the temperature-coefficient string sizing issue I mentioned. Another was a racking problem. The third was a monitoring compatibility issue, which I caught before the panels arrived.
I'm not a logistics expert or an electrical engineer. I can't speak to the optimal inverter pairing for every voltage scenario. What I can tell you from a procurement and specification management perspective is that a 5-minute verification—running through these six steps—can save you 5 days of correction.
The 40-year warranty is a great thing. The 40-minute checklist is a better one. Get the panels right the first time.
Ask a related Maxeon question